
How to repair an irreparable BeoPlay A6.
In February of 2020, as a birthday present to myself, I decided to buy a Bang and Olufsen speaker. Unfortunately not a new speaker, but a 4 year old BeoPlay A6 that I had found on Ebay for a reasonable price. Why did I choose this speaker I hear you ask? Well, because of this article on What Hi-Fi that placed it as the best speaker of it’s type for it’s price (and because I am an unapologetic B&O fanboy), and boy were they right about the sound that comes out of this thing.
Let me tell you, this speaker is mind bogglingly good, really exceptional in every way. Everything I played through it wrapped around me, delivering an acoustical experience I had never experienced in my own home. The bass was powerful without distorting or overpowering; the mids were balanced and punchy; whilst the treble reached insane peaks without distorting. Was this all too good to be true?
As it turns out… yes. Shortly after owning this speaker (within the first hour of playing for the first time) I noticed that the volume was reducing by itself and I couldn’t increase it back to what it was. It continued to do this until the maximum volume I could set it to was no louder than a conversation. I reached out to the seller who said he’d never experienced that, but hadn’t used it in a few years, kindly he refunded me anyway. I then took it to a Bang and Olufsen store to get it repaired (for about the same price I purchased it) and they said it was a known overheating issue, an easy repair. So I left it with them to get sent off to their official repair partner, Ingram.
What was supposed to be a 3 week repair turned into a 6 month repair as Covid-19 hit shortly after it was shipped away to Ingram in Germany to repair. It did eventually return to me and for a while it did work as it was supposed to, until about 9 months later it started having the same issues as before. I reached back out to Bang and Olufsen and was met with the unfortunate news that the speaker no longer had parts left to repair it, the product was effectively dead. They gave me a discount on a new product (in lieu of refunding me the cost of my failed repair) and said I could do what I wanted with the A6 (suggesting I dispose of it I guess).
This was hugely disappointing from Bang and Olufsen given that they were really pushing their new BeoSound Level as the first cradle to cradle, fully repairable and upgradable product. So, as someone who’s not afraid to open up his own tech and is a big supporter of the right to repair movement I was determined to fix this thing. I requested whatever I could ask for from Bang and Olufsen; schematics, component info, etc… nothing. I was on my own on this one.
I opened it up, had a good look around, found the heatsink, but wasn’t sure what exactly to do, so I closed it up again. When re-assembling though I did notice a cable with foam that was running along the heatsink area and decided to re-route it away from the heatsink so that there was better air movement in that area (which definitely made a difference to the speaker as it took much longer for the speaker to start experiencing the overheating effects after this).
It wasn’t until I came across a reddit post much much later about replacing the thermal paste inside a Nintendo switch that I figured out how to repair this speaker. The answer as it turns out was really quite simple, the A6 wasn’t transferring heat effectively enough to the heat sink (which was using a seemingly inefficient thermal pad), making the speaker think it was overheating, and reducing it’s power consumption so as not to damage itself.
After replacing the thermal paste on my day 1 Nintendo Switch I set to task on repairing the A6, the method of which you’ll see below. I’m proud to say that this method works, and I have performed it successfully on 3 BeoPlay A6’s now and none have yet to experience the issue of reducing their own volume anymore.
I hope someone finds this useful and can repair their speaker (stopping it from ending up in the bin) and as far as I can tell there is no other method online outlining how to repair this speaker. Goes to show how one component can make an entire product essentially trash. Even more than that, a fixable engineering design flaw can make a product break years after it’s no longer in production or serviceable.
How to repair a BeoPlay A6 - step by step
First off, apologies for the lack of studio quality iFixit style white backdrop photos. I only had my dining table and my phone camera at hand. We’re here to repair, not to push the boundaries of repair based creative direction.
You’re going to need the following tools for this
A TR20 driver bit
Range of Phillips head screwdriver sizes
An opening tool
K5 pro thermal paste
White Spirit
Rubbing Alcohol 70% or higher
Cotton q tips
Step 1 - Remove your A6’s fabric cover
Lay your A6 on a flat surface and gently separate the fabric cover from the body of the speaker and put it to one side. It will come off without too much effort.

A6 - Cover on

A6 - Cover off
Step 2 - remove the 23 x TR 20 screws
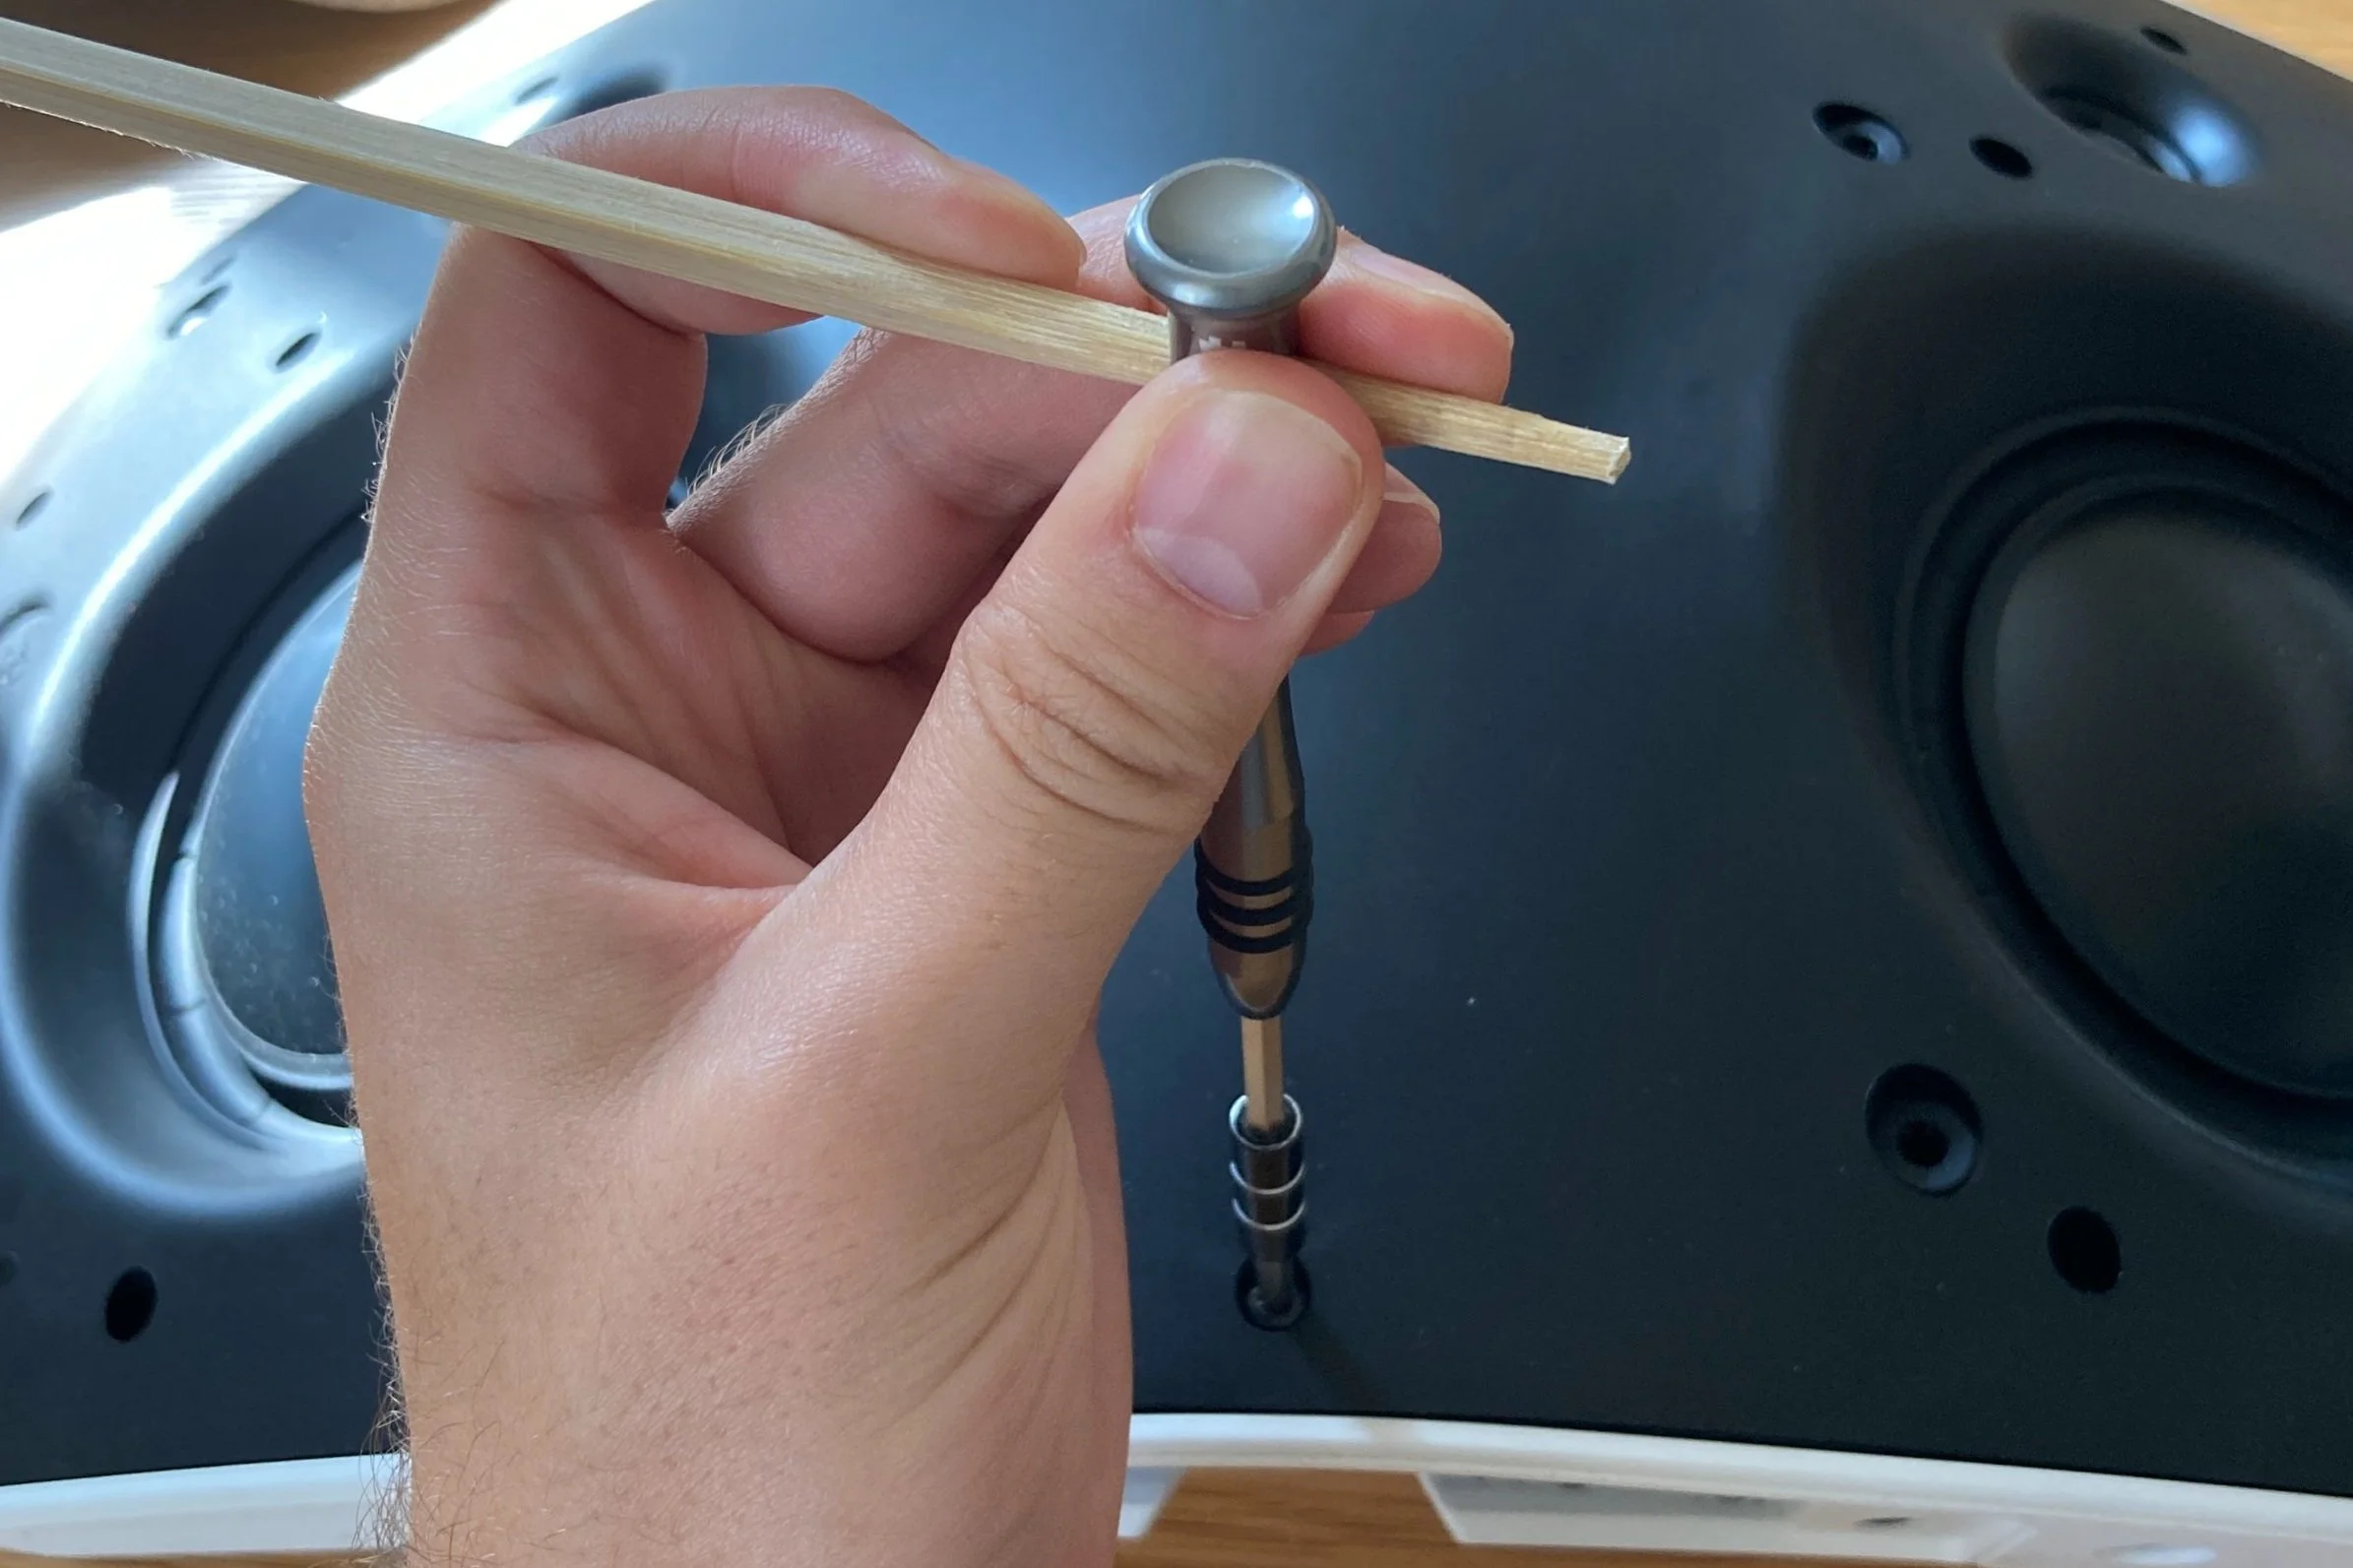
Using the TR20 head remove the 23 screws that are holding the two halves of this speaker together. These will be done up pretty tight and you may have to use something to give you more torque (I used a chopstick through my multi-bit driver, for example).
Note: be careful of touching the speaker drivers and a couple of the screws are different lengths (make note of which holes these came from - because I forgot to).

TR20 screws holding the two halves together
They’re tight, you may need a lever to undo them
Step 3 - Separate the two halves
Before you try to separate the two halves of this speaker, double check you’ve removed all the screws. I almost always seem to forget one screw, so check with your phone’s torch first.
After you’ve confirmed that you’ve taken all the screws out, use a spudger or separator tool to get in-between the gap at the sides and begin to separate them. Once you’ve got an opening, you can get some grip with your fingers and start to pull it apart.
They’re going to be held really well together with some double sided tape on the inside, it’s going to feel like it doesn’t want to come apart at all. Be firm but not too tough as there are short cables inside that you don’t want to break when it suddenly gives.

Use a tool to start to separate

Once partially open you can use your hands

pull apart firmly, but not roughly
Step 4 - Disconnect the two halves
Once the speaker halves are open, then it’s time to disconnect the cables running between them. There are 5 cables running between the two sides that need to be disconnected.
Note: You can put the fabric cover back on loosely now that you’ve separated the two halves to protect the speaker drivers from accidental damage.
Cable 1

First cable on top of circuit board

use small plastic instrument to release

Pull cable free from board
Cable 2

Cable 2 on the left bottom side of board

Push down on clip to release

Pull cable away to separate
Cable 3

Pinch cable 3 firmly and pull

This is the last cable connecting to this side of the A6.
Cable 4

On the driver side, there’s this cable connected to a small black plastic, folded box.

Pull the cable out to remove it.
Cable 5

The final cable can be detached from under the circuit board where the red circle is.
(I forgot to take an after photo of this one)
The two halves should now be fully separated. You only need the side with the speaker drivers on now (shown on the right) as that’s where the problem component is.

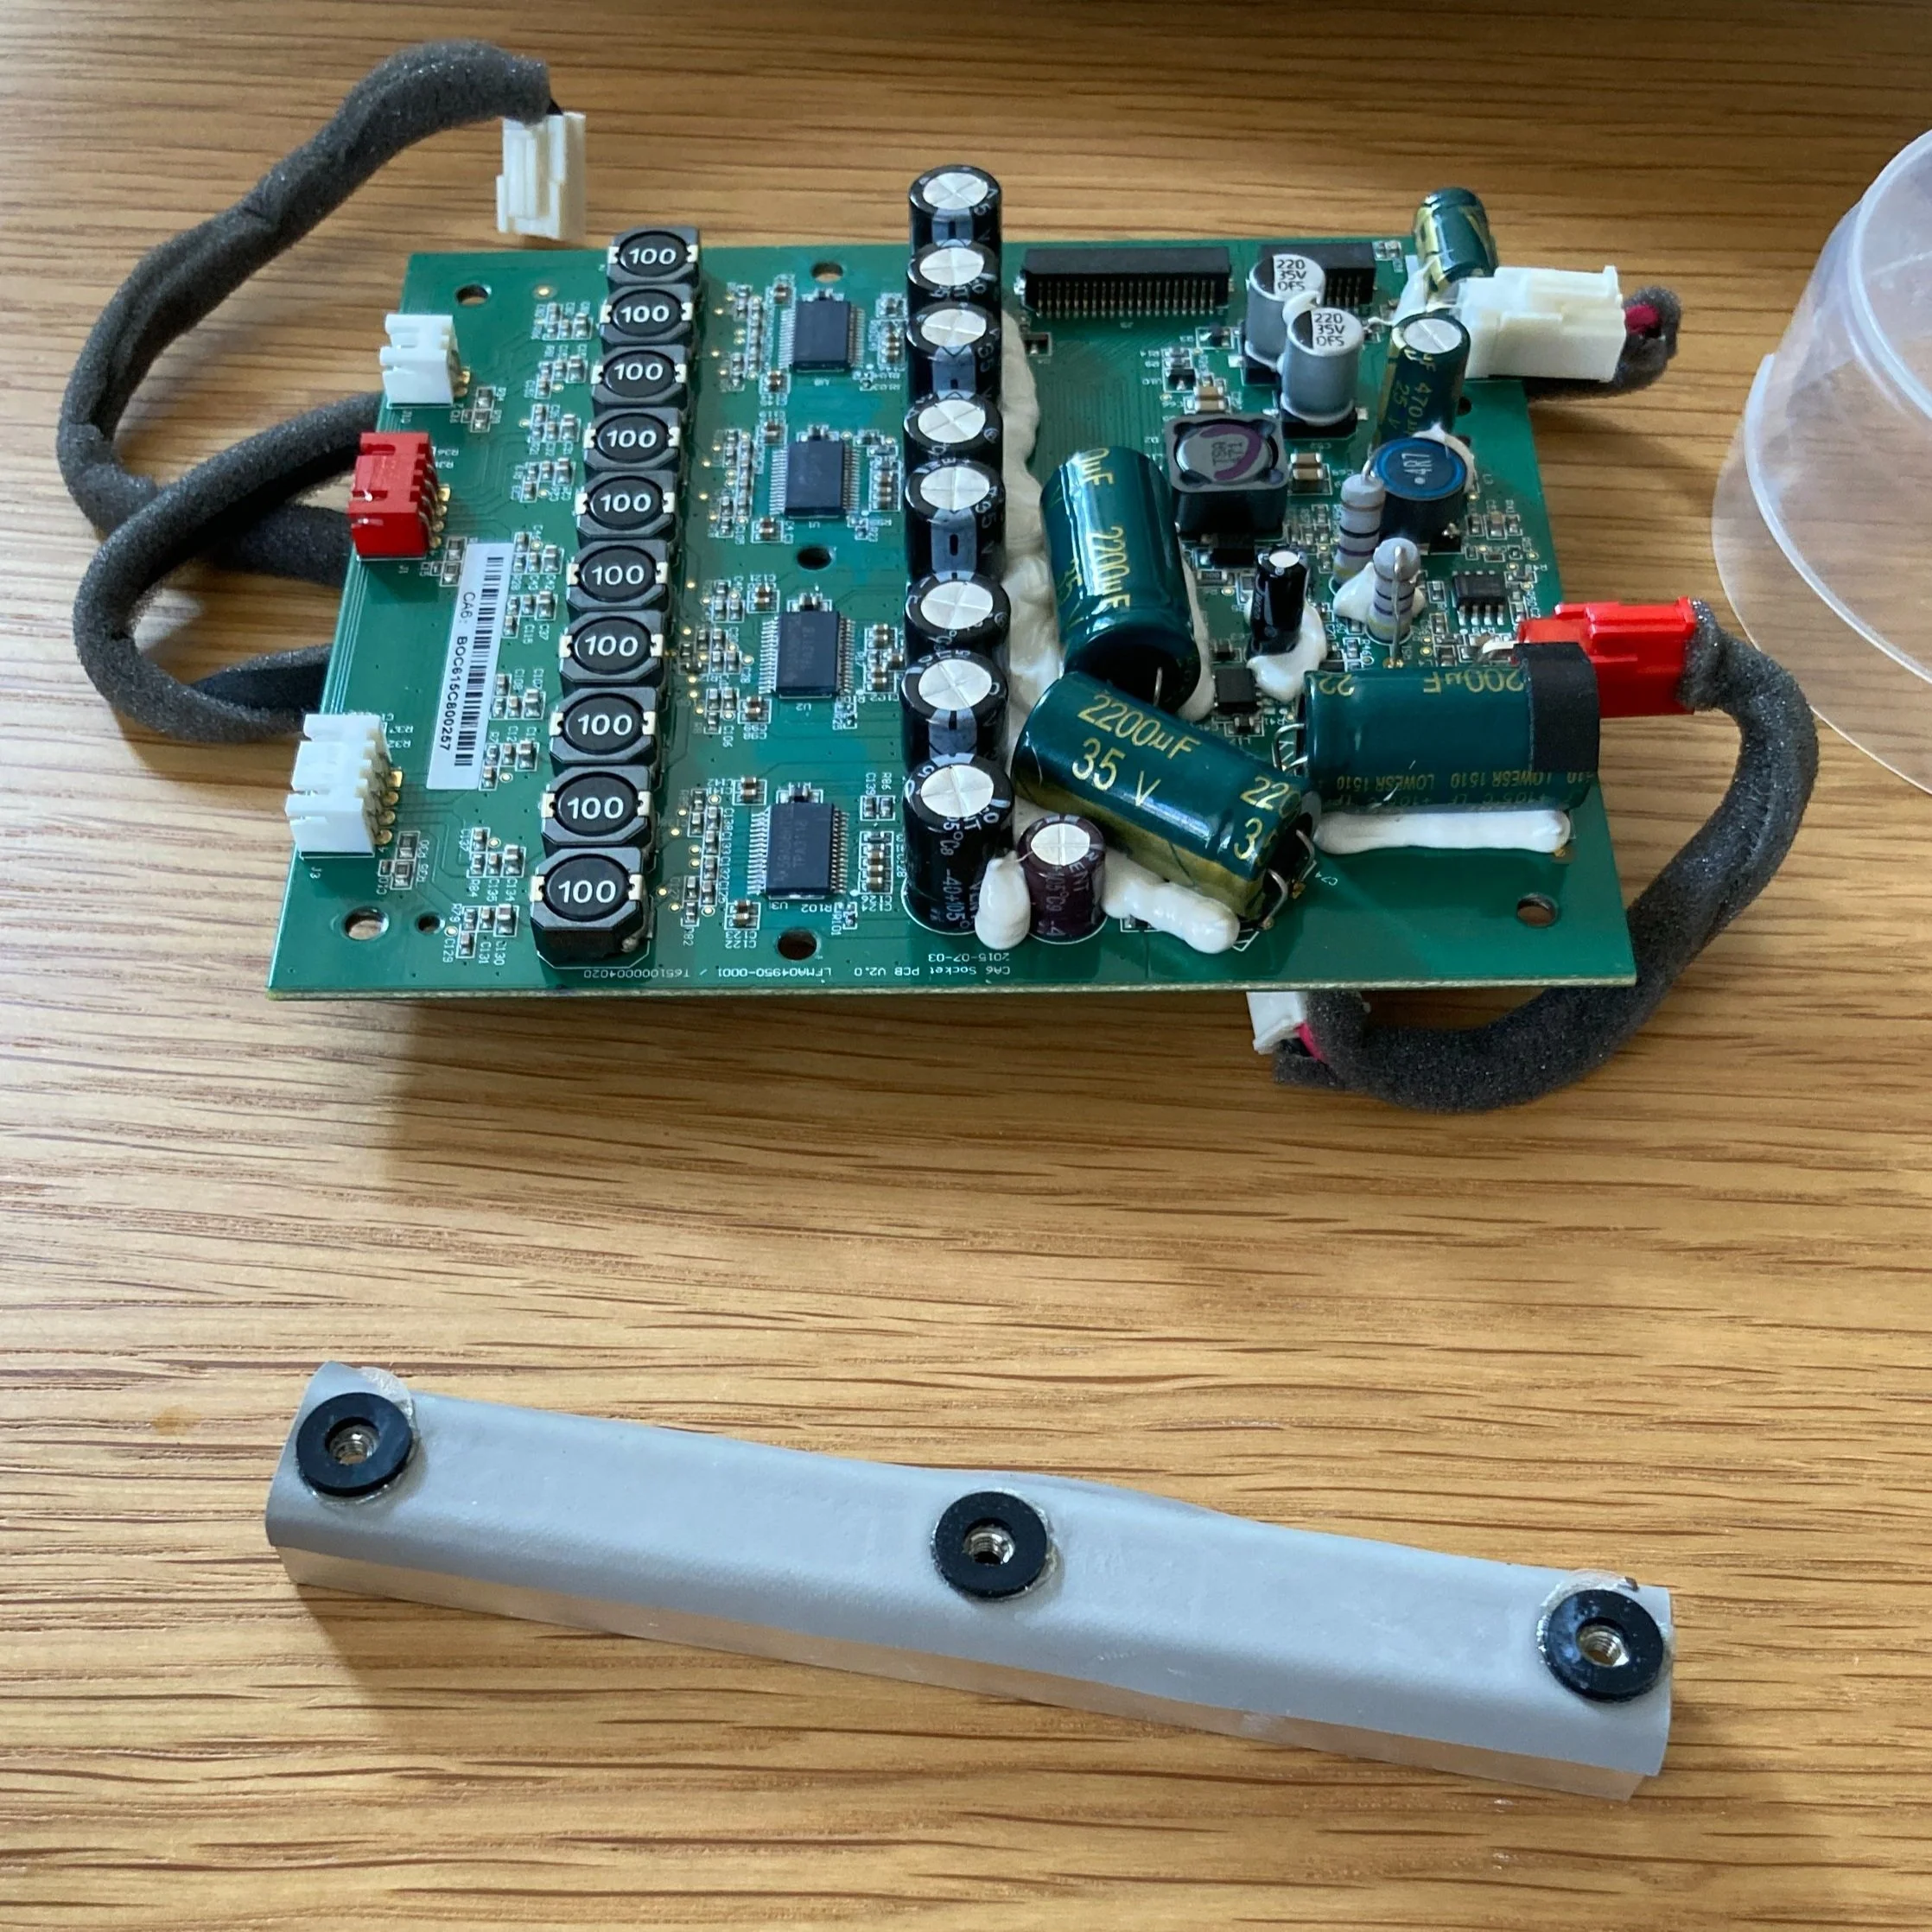
Step 5 - Accessing the heat sink
Now that we have free access to the inside of the speaker, we can work on getting access to the component that’s causing the issue, which is directly underneath that centre circuit board.

This is what we’re working on next

Remove the cable at the top that connects to this little box of components, then remove the 4 small Phillips head screws, there’s one in each corner (the bottom left one is accessable through that small circular cut out)

Once removed, put this to the side, we don’t need to work on this component.

Now you have full access to the 4 screws (all in corners except the top right which is inset) to remove this board. Note that I’ve detached the two bottom cables also.

Gently lift to board from the left hand side upwards, pivoting along the right hand side.
On the other-side of the board you’ll see these two connected cables (as shown on the right side of the board in this image).
They’re quite delicate so we want to be careful getting access to them and disconnecting them.
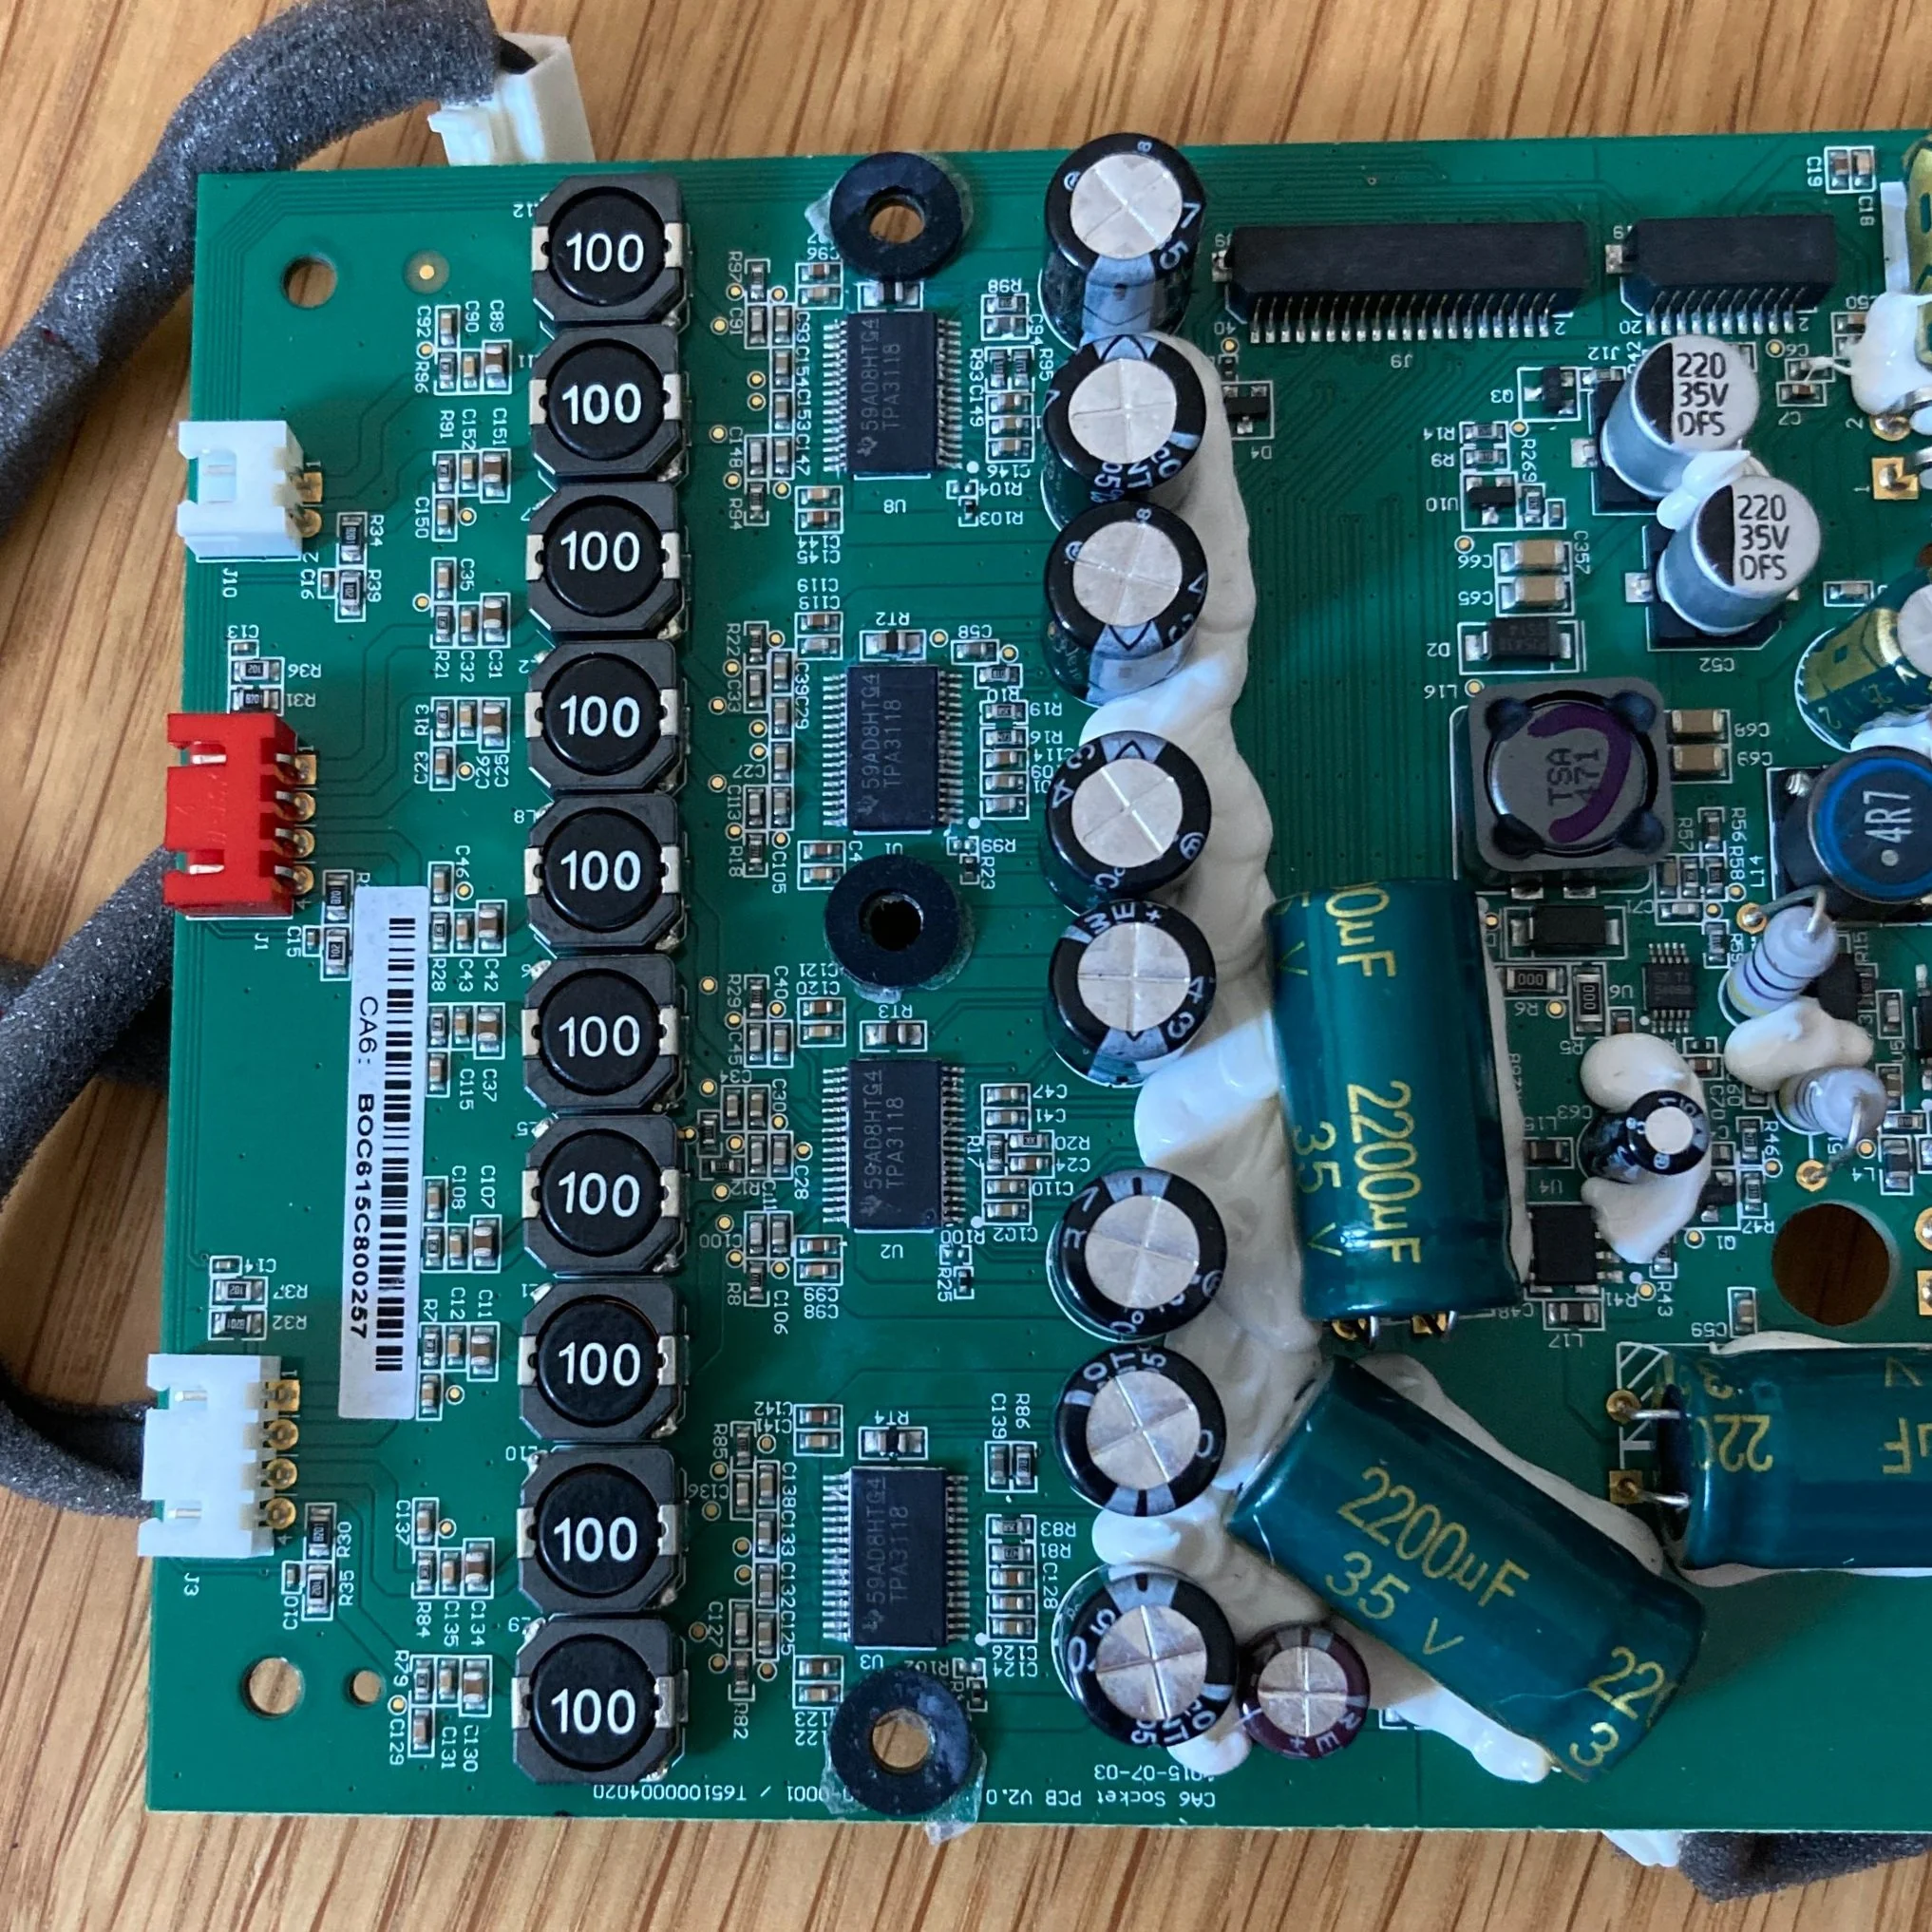
Step 6 - Upgrading the heatsink
Now we have full access to the board and the heatsink we’re going to give it an upgrade using the K5 pro thermal paste. This will help transfer the heat out of the board more effectively, resolving our issue of the speaker thinking it’s overheating.

You now will have full access to the backside of the board and the heatsink (the big U bar of Aluminium).

Flip the board back over and unscrew these three screws.

With the screws out, the heatsink should come off as shown.
There will be some residue as you can see, we’ll clean this up next. Put the heat sink to one side for the time being as we work on cleaning the board first.

Time to use the white spirit to clean up the pads that have residue thermal paste on them.

Using a cotton q tip dipped in white spirit, gently rub the white thermal paste off. You will go through many cotton q tips here.

Once cleaned with the white spirit it should look like this.

Using the white spirit on some tissue paper wipe off the thermal paste residue from the heat sink.
Leaving you with a clean board and a clean heatsink.

BEFORE MOVING ON
We’re going to repeat the last few steps but this time we’re going to use the rubbing alcohol. The reason we’re doing this is because the white spirit can leave a thin film behind that can effect the K5 thermal paste.
DO NOT IGNORE THIS PART

Peel off the little pads off of the heat sink.
Place them sticky side down on the board as show above.

Next you can peel the thermal interface off of the heatsink, starting from the corner makes it easier.

Pull slowly and gently so as to not tear the thermal interface, well be using this again later.
Once the thermal interface has been removed, use the white spirit, followed by the isopropyl alcohol to remove any residue left behind on the U shape aluminium heat sink.
DO NOT FORGET TO DO THIS.

The removed thermal interface should look like this once removed.

Take that thermal interface and stick it down on the other side of the board. Note that the holes are not all equal distance from each other, so get it the right way around.
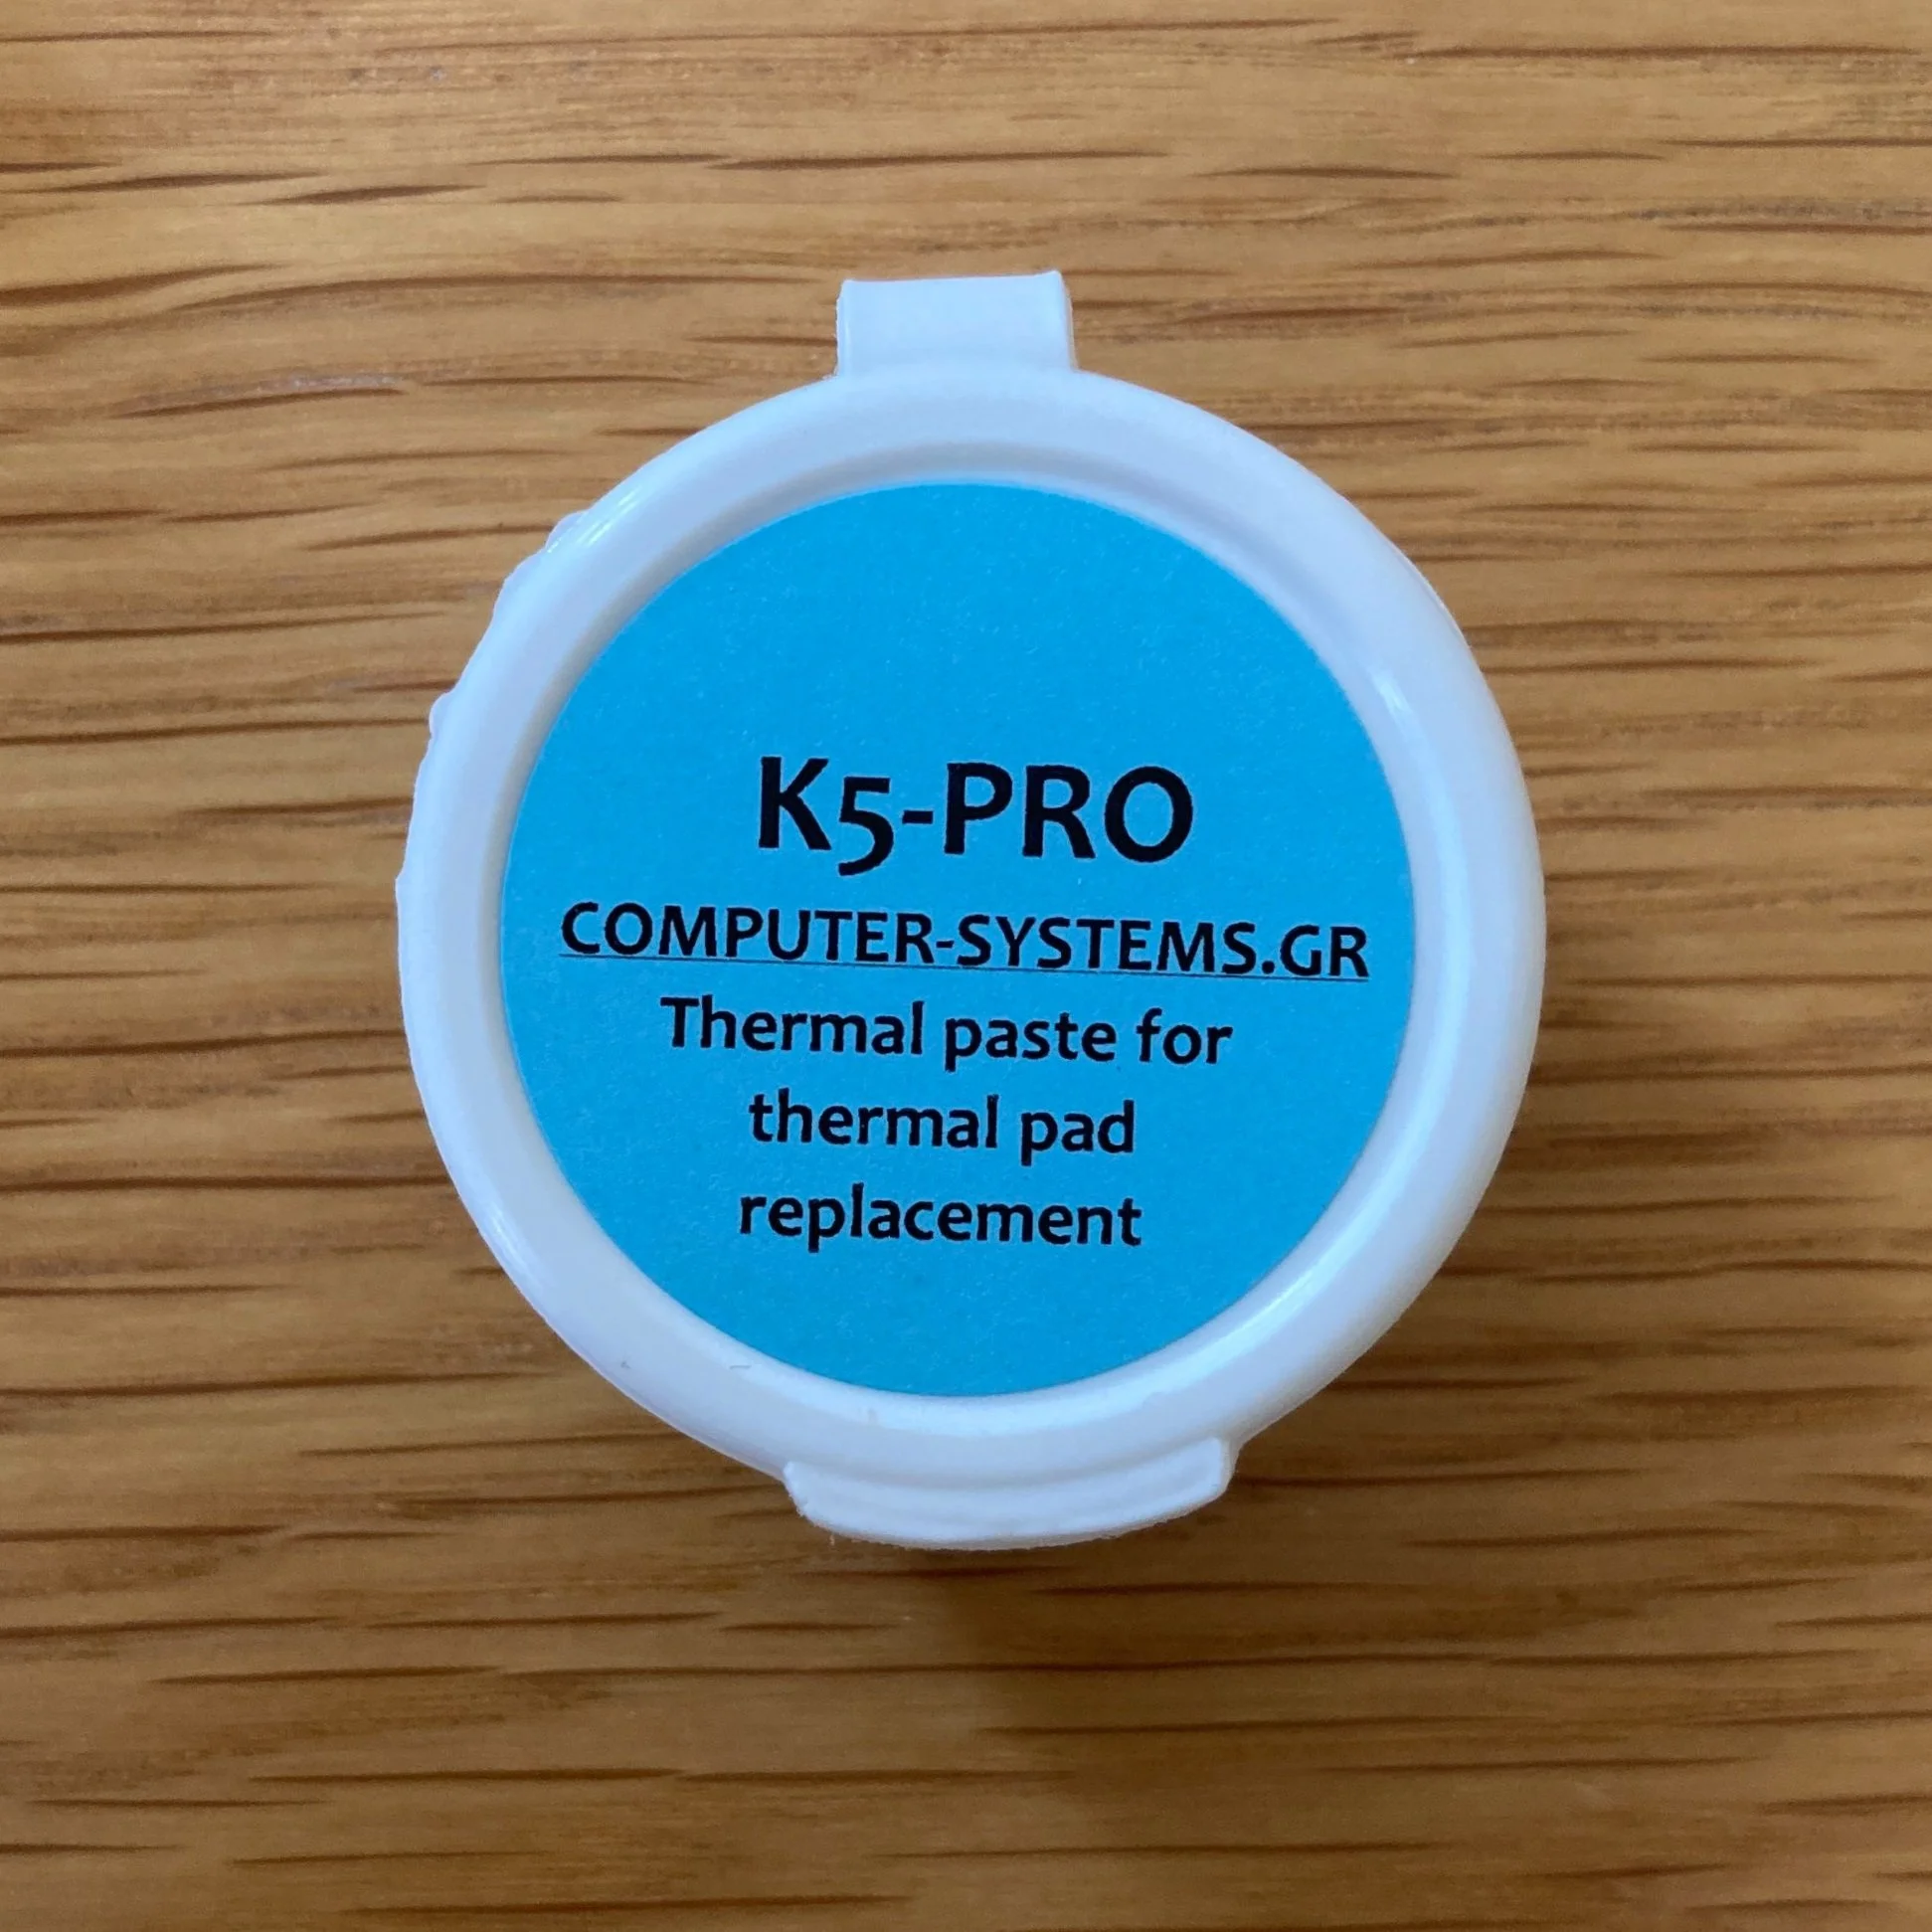
Grab your K5-Pro Thermal paste

Using the stick supplied you can scoop out the thermal paste.

Apply the thermal paste liberally on to the pads that you previously cleaned with white spirit and then isopropyl alcohol.

Top view of the liberally applied thermal paste.

Place the cleaned heatsink back on top of the thermal paste (ensuring that it’s in the right orientation)

The thermal paste should spill out like so.

If you don’t get a look like this or the previous picture you probably haven’t used enough thermal paste.

Screw the heatsink in place, don’t use excessive force here, just screw until held firmly.
This is the final part of the repair. Now we reassemble the product.
Step 7 - Reassemble the A6
Now that the components are fixed, follow from step 5 backwards. But with one crucial difference…
When you took apart the A6, and got to the part where you removed the board that showed you the heat sink, there would have been a foamed cable underneath it. Make sure that this cable is not underneath the heatsink when you re-assemble the speaker. It inhibits airflow and effectiveness of the heatsink. Re-route it around or over the circuit board.
Once you’ve clipped all the cables back together and everything is looking ready to be sealed, lightly close the shell (so you don’t have access to the internal parts, but can still easily open it up) and plug it in to test. It’s possible that you didn’t clip a cable in properly and then your speaker won’t output any sound (you may also need to perform a factory reset via the app). So do this quick check before screwing it all back together.
Also when you close everything up and are ready to screw it all shut, make sure you use the longer screws in the right holes and that you don’t screw it too tight otherwise you may strip the threading.
Once all this is done, test out your speaker again and perform a factory reset using the app.
The speaker should now be better than new and hopefully will continue to work for many more years without further issue.
Bang & Olufsen? More like Broken & Obsolete; am I right…?